Development of 3D printer filament on specification
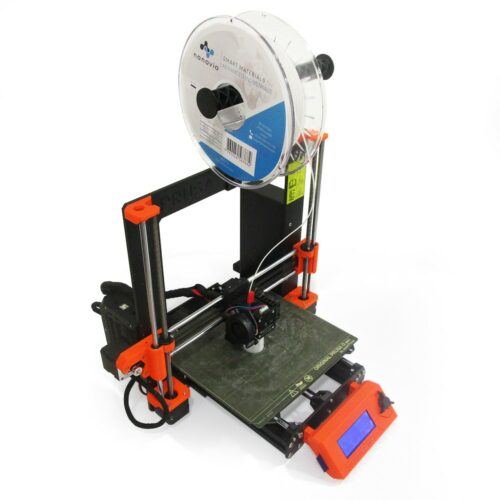
Nanovia is a French fused filament fabrication (FFF/FDM) developer and manufacturer for 3D printing. With close to 10 years of experience, we are specialized in fibre reinforced filaments with properties suited for high tech applications.
Our material catalogue spans over 30 product references of different polymers. Many of these filaments are the result of our experience of on demand developments, the process of which is detailed below.
Summary
- Why develop a filament ?
- Filament creation lead time
- First meetings
- Production – compoundage/mélange
- Production – filage
- 3D printer qualification test
- Printing profile creation
- Packaging
- Validation
- How to get in touch
- Some of the properties we propose
Why develop a filament ?
Often we are confronted with a request which, despite the diversification of market, istoo limited for there to be a commercially available product.
- Particular resistance requirements: chemical, temperature ranges, wear, chemical, mechanical etc…
- The need for a regional supplier with short delivery times
- Specific industry required RAL colouring
- The creation of a new brand of printing filament
It’s possible to initiate a custom development starting at 20 kg depending on the polymer. More limited “pre-productions” are also possible for highly technical material such as PEEK/PEKK PEI PSU.
Filament creation lead time
The actual filament production happens over a couple of days, however the complete process generally takes around 3 weeks, from the first meeting to delivery.
- First meetings – bill of specification ( 5 days)
- Formulation ( 2 days )
- Supply ( variable )
- Production – compounding ( 2 days)
- Production – “spinning” ( 2 days )
- Material testing ( 1 day )
- Packaging ( 1 day )
- Delivery ( 2 days )
- Client validation
First meetings
During the initial meeting, one of out material engineers will help you identify the exact conditions the final filament is to withstand.
These meetings also aim to foresee any technical material limitations that could limit the useable polymers (available printing equipment for example).
Finally, the initially required volume is fixed. These steps allow for the finalization of the bill of specifications and for us to propose a first formulation.
This formulation is then used to identify the raw material suppliers. Based on their lead times, the different manufacturing steps and available timeslots at Nanovia we will then be able to offer a pro forma quote for the custom filament.
Production – compounding
Filament production , for the majority of compositions, is in two distinct steps. This first step aims at homogeneously mix the various polymers, additifs, and fibres. This is called the compounding phase.
Compounding is done via a twin screw polymer extrusion fabrication line. This extruder, as its name indicates, uses two screw with inwards rotations to mix the materials.

The composition elements are introduced at different parts of the compounding line. At which point the material is introduced greatly modifies its final properties. Fibres for example, the earlier they are introduced, the shorter they get.
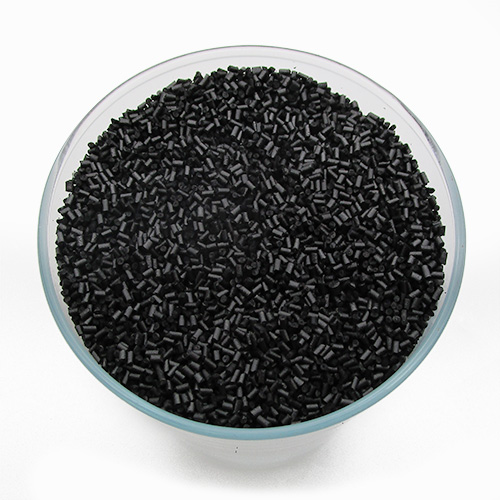
The irregular “filament” that results of the compounding is granulated on the end of the production line before being put in a dryer for 24h before the next step.
In some situations, this step needs to be repeated. This is notably the case for polymers with fibres, that in order to correctly compound need to be coated in another polymer first.
Concentrated version (master batch) can also be created during this step. These are compounded in the following step with a native polymer. Some colorings and additives are introduced using this “half step”.
Production – “spinning”
The granulated pellets are once again dried, but this time under vacuum. This step is necessary to remove the lasts traces of humidity. Extrusion temperatures are high enough to vaporise humidity and create porosities in the filament.
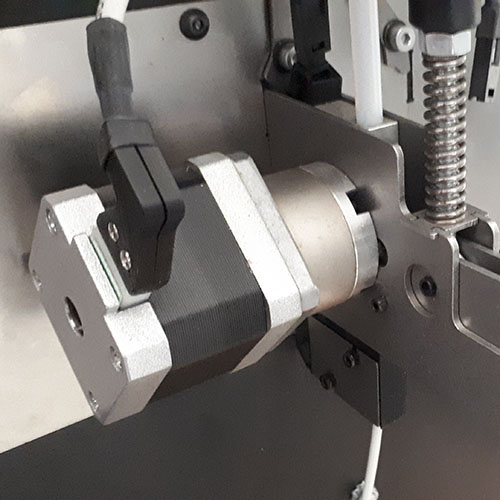
The now completely dry material is funneled in a single screw extrusion line. This screw is surrounded by several individually configurable heating zones.
This screw is beveled with a specific profile. It’s unique shape forces the material in a gradually tighter area, increasing the pressure progressively in order to extrude a perfectly dense filament.

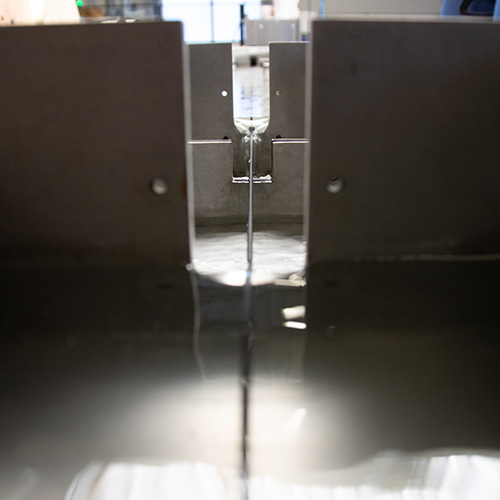
Directly after leaving the extrusion, the filament goes through several cooling baths over 15 meters. These baths are at different temperatures and use different cooling elements. Depending on the polymer compound the baths can contain oils, water, or be empty for slow cooling.
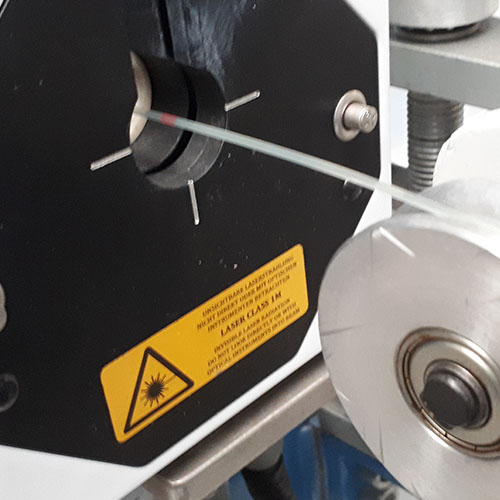
The filament’s diameter is controlled at the end of the fabrication line with a laser measure, which dynamically adjusts the line tension to regularise the filament.
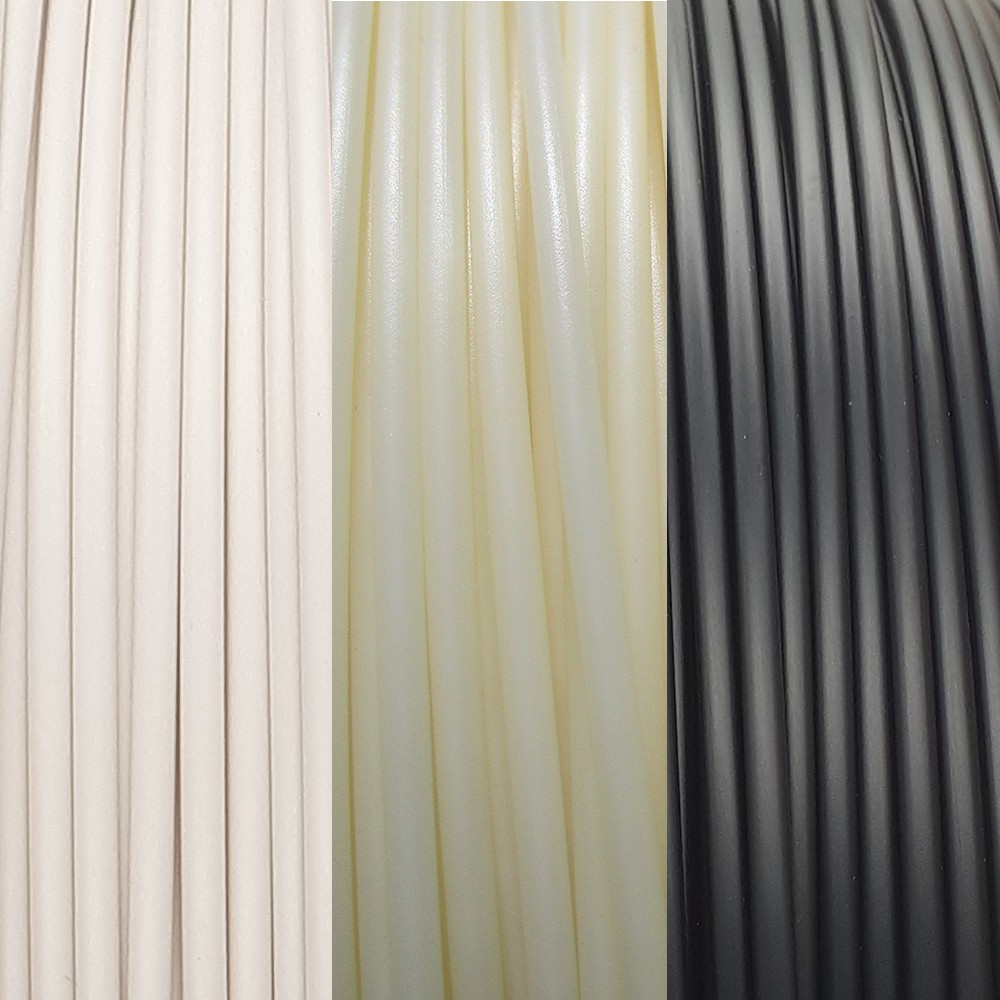
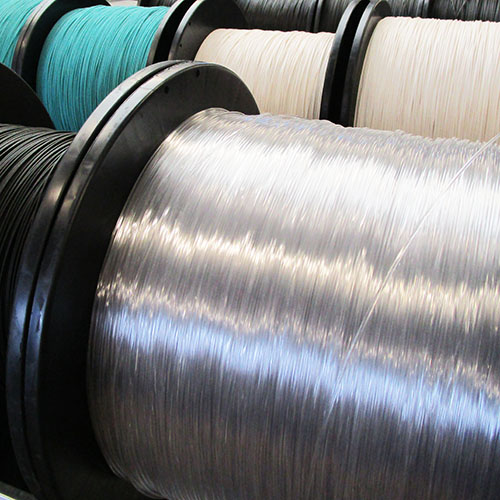
The regularised cooled down filaments is spooled on a “master” spool of 30 kg at the end.
Every filament has its own unique production parameters.
Once production is completed, the normalized filament is once again dehydrated for 24h to eliminate any moisture that might have infiltrated the material during the cooling process or via atmospheric humidity.
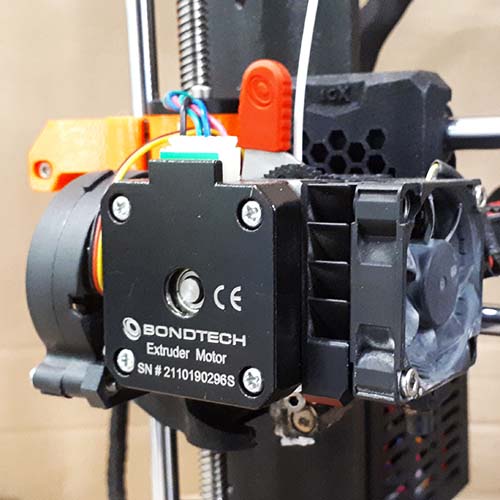
3D printer qualification tests
A sample of the dehydrated filament is inserted into seral types and brands of 3D printers to test :
- That when inserting the filament it does not snap (too rigid)
- To see if the filament can be pushed into the printer or needs to be pulled into it at the printer head (the latter is mostly necessary for very brittle and flexible filaments).
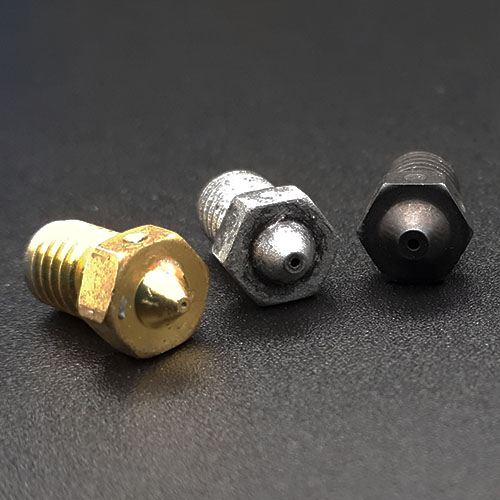
- Check which diameter nozzle can be used to print the filament at normal speeds without clogging up and causing under extrusion. This can be the case with some fibre reinforced and composite filaments.
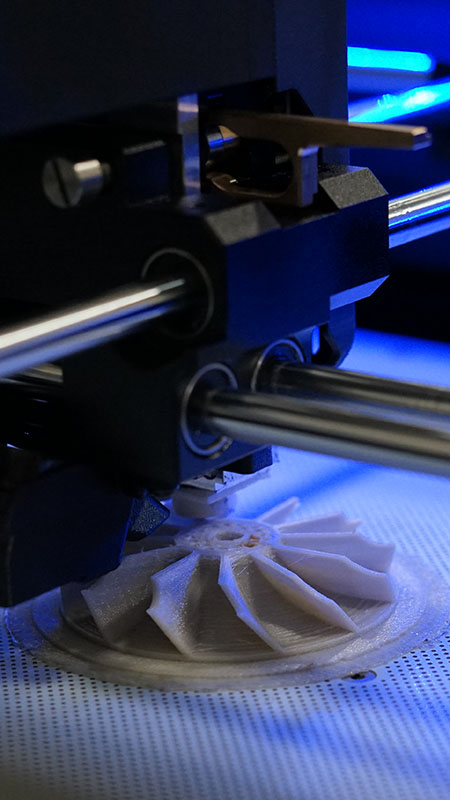
Creating a 3D printer profile
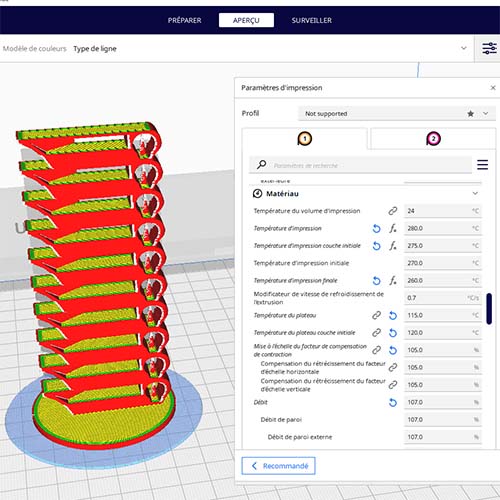
Once the filament is validated to correctly work with 3D printers, it’s time to find out the correct printing teperature and settings. This process starts with the printing of several test parts among which a “temperature tower”. This tower has all of its levels printed at different temperatures and allows to visually check witch settings correctly respect the geometry.
Once we have a good idea of the required temperature we perform mechanical traction tests at a range of temperatures to check for the best inter layer adhesion result.
This temperature range is however dependant to our specific test environment. Depending on the machine and ambient condition (temperature, humidity level) the ideal temperature might vary. Therefor, we also recommend to at least print a temperature tower on your own equipment before starting production.

Packaging
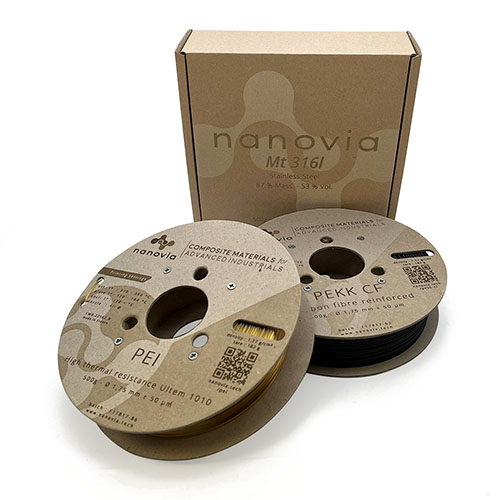
The final step is to transfer the filaments from the master spool to smaller spools depending on the client’s requirements. Our standard spools are made of recycled cardboard that we laser engrave. We also propose other sizes and materials for packaging.
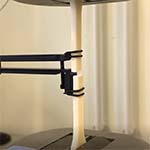
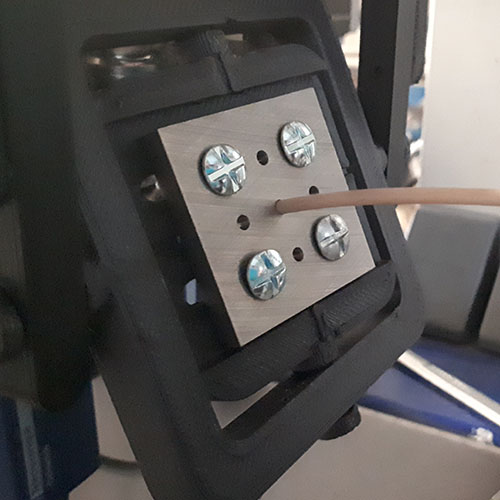
During this step, we apply an addition mechanical diameter check by threading the filament through a metal die exactly the size of the filament.
Some of our filaments are very abrasive especially those reinforced with carbon and glass fibres, as well as our ceramic and metallic compounds. When the die starts showing signs of wear, it is replaced.
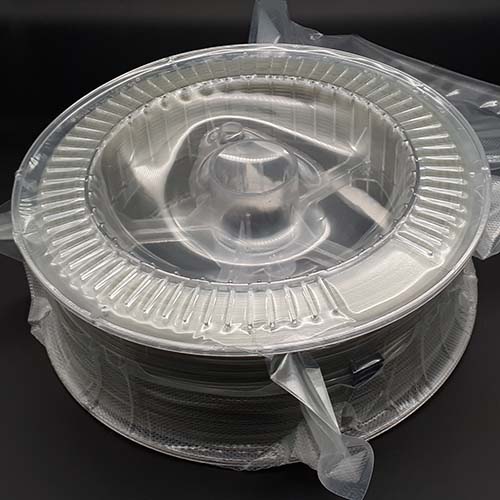
The spools are vacuum sealed with desiccant to keep them dry until the day they are used by the client.
Validation
Smaller test series are common to validate a formulation. Once validated by the client, we can scale up the production, which often goes hand in hand with an increase in production speed.
How to get in touch
- Via our contact form
- Email : contact@nanovia.tech
- Telephone : +33 (0) 296 43 36 90
Some of the properties we propose
Radiation
- X-Ray Blocking
- Radio wave blocking
- UV resistance
- Radiation absorption
- etc…
Industry
- Conductive
- Insulation
- Virucideal / Bacterucidal
- Low friction
- Metal detectable
- Fire resistant
- Metal / ceramic for sintering
- etc…
Fibres
- Natural
- Carbon
- Aramid
- Glass
- Basal
- Continues
- etc…